The Role of Outsourcing in Digital Transformation
Discover how outsourcing services can accelerate digital transformation initiatives, allowing companies to leverage cutting-edge technologies and innovative solutions.


Discover how outsourcing services can accelerate digital transformation initiatives, allowing companies to leverage cutting-edge technologies and innovative solutions.

AI and automation are transforming outsourcing services by improving efficiency, reducing errors, and enabling providers to offer more value-added services.

A guide to the latest security practices and protocols that developers should implement to protect user data and ensure app integrity.

Enhancing web performance is crucial for improving user experience and engagement. Key techniques include optimizing images, leveraging browser caching, and minimizing HTTP requests to ensure faster load times and smoother navigation.

Securing your applications is crucial in the development process, as it protects sensitive data and ensures user trust. Implementing top security practices like regular code reviews, using secure coding standards, and performing vulnerability assessments can significantly mitigate risks and enhance the overall security posture of your applications.

An introduction to Progressive Web Apps (PWAs), discussing their benefits, how they work, and why they are becoming a popular choice for businesses.

Understand how staff augmentation is playing a crucial role in helping businesses navigate and accelerate their digital transformation initiatives.
This blog discusses how staff augmentation is transforming workforce management by providing businesses with flexible and scalable talent solutions to meet dynamic project needs.
Dive into the latest social media marketing strategies that are driving engagement and growth, including platform-specific tips and the importance of authentic brand storytelling in a crowded digital space.

Examine the growing importance of sustainability in marketing, highlighting innovative campaigns by brands that prioritize eco-friendly practices and resonate with environmentally-conscious consumers.

Explore the growing trend of minimalist web design and learn how simplicity can enhance user experience and engagement on your website.

Typography can make or break a design. Explore the latest trends in typography and how to use type effectively to convey your message.

Analyzing the growing preference for self-service options and how businesses can implement them effectively.

Examining the evolution of loyalty programs and what businesses can do to keep customers engaged and loyal.

Accessibility in UI/UX is no longer optional. Learn how to create inclusive designs that cater to users with diverse needs.

Animation can enhance user engagement and interaction. Learn how to effectively incorporate animations without overwhelming users.

Emotional intelligence is increasingly recognized as vital for successful management, helping leaders to connect with their teams and navigate complex interpersonal dynamics.

Fostering employee wellbeing is essential for productivity and retention, with managers playing a key role in creating supportive and healthy work environments.

Learn techniques to improve the performance of your mobile apps, including efficient coding practices and resource management.

Multi-cloud adoption is on the rise as organizations seek to optimize performance, cost, and flexibility by leveraging multiple cloud providers.

Integrating AI and machine learning with cloud services is enhancing data analytics, automation, and personalized customer experiences.

Understand how 5G technology is transforming mobile app development by enabling faster speeds and more reliable connections.
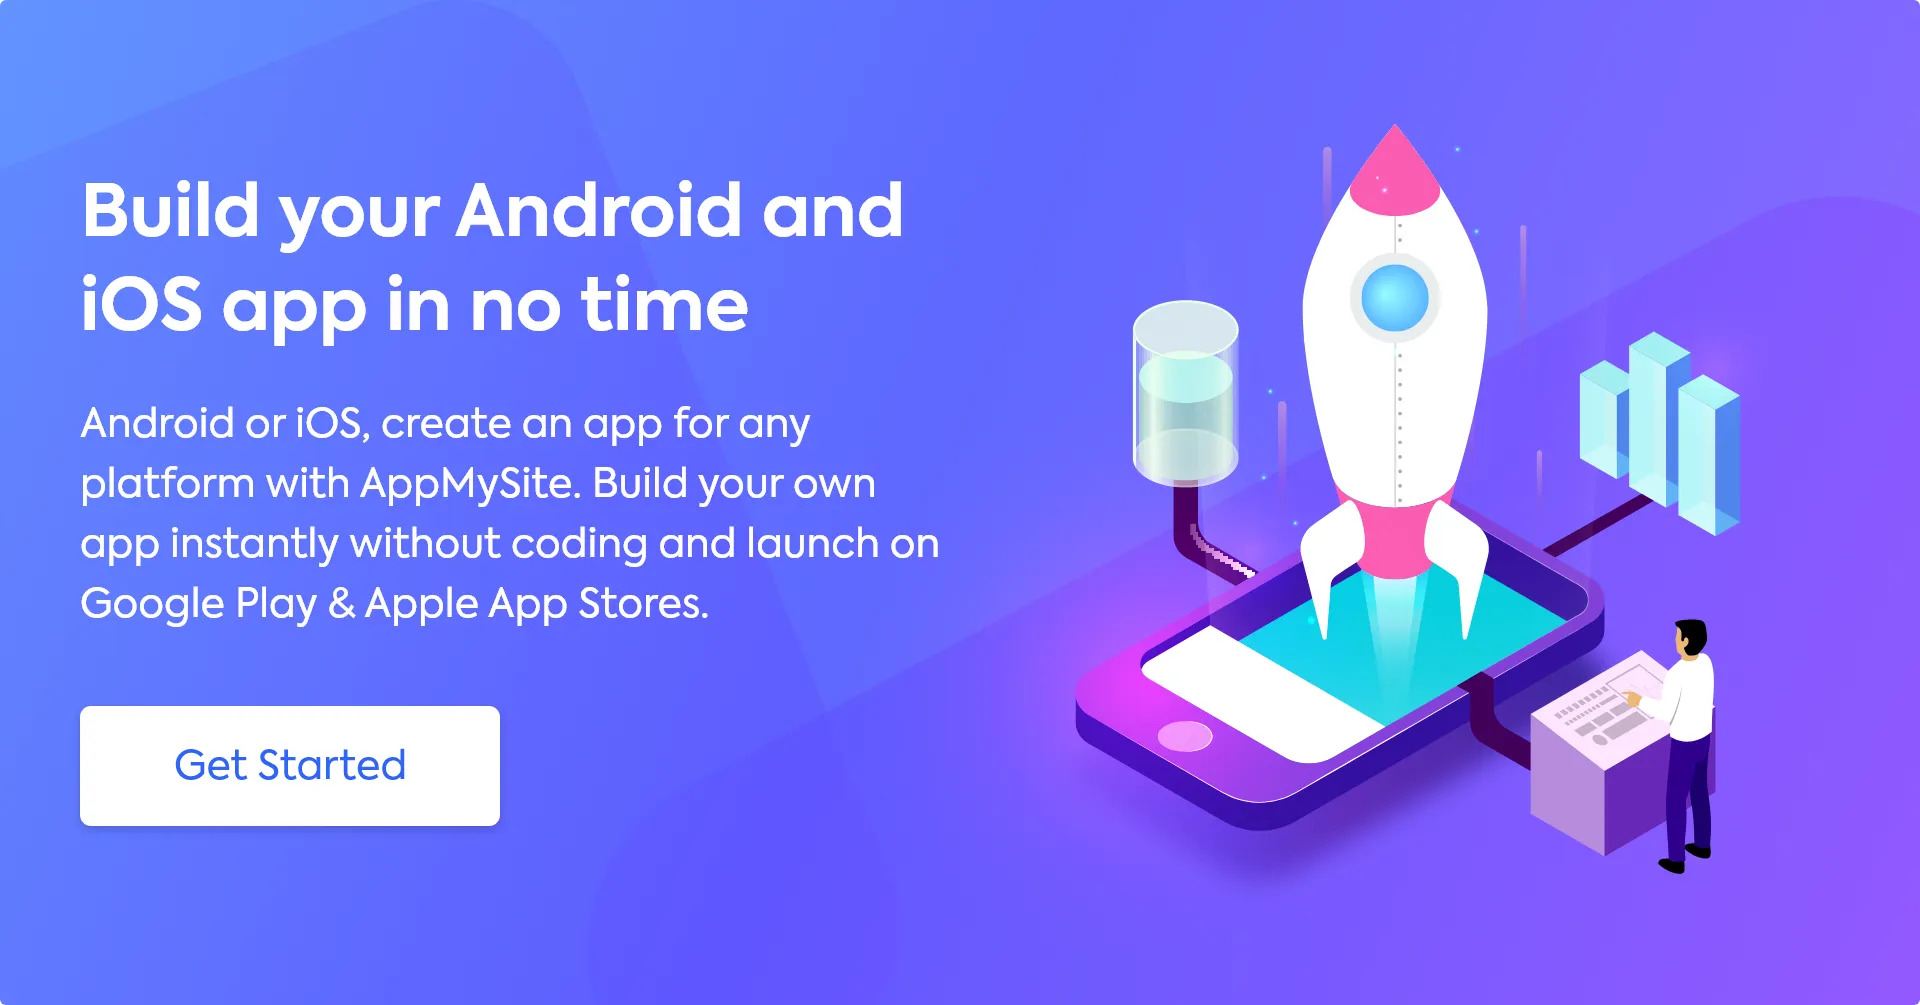
Apple App Store is one of the most popular app stores and is the home to more than 2 million iOS apps. Thanks to the proliferation and growing demand of mobile apps, the number is constantly increasing.
In fact, it has also become easier to convert WordPress to feature rich iOS apps without writing a single line of code. The monopoly of custom app development agencies stands challenged ever since the DIY app builders like AppMySite have emerged.
However, despite all the perfection, not everything is a piece of cake in the Apple universe. Compiling essential documents, certificates, etc., for app submission and then finally publishing the app to the app stores can become a daunting task.
Do not worry, we are not here to intimidate you but to help you. Today, we will tell you how you can gather and list all the essential certificates and fulfil the requirements for publishing an iOS app in a simple and smooth manner.
While you are at it, you can also check out our other blog (suggested below) where we have discussed the checklist for submitting Android apps to the Google Play Store.
Suggested Read: The Google Play Checklist: Everything you need to submit your app to Google Play
Now let us cut to the chase and discover the step by step guide for adding essential information to the app store and uploading your iOS app. Let us begin!
(Skip this step if you already have an Apple ID)
Navigate to the Apple Developer website and create an Apple ID. You will need to enter the basic details such as:
You will also need to answer some security questions at this point. Enter all the information correctly and proceed.
Now that you have an Apple ID, go ahead, and enable two-factor authentication. This is a necessary requirement for all Apple IDs.
You can easily set up two-factor authentication with an iPhone, iPad, or an Apple computer, as described below:
Follow these steps for setting up two-factor authentication with an iPhone or an iPad:
Here, a few security questions might be prompted, that can be answered easily. Follow the instructions on the screen and answer those questions.
Follow these steps to set up the two-factor authentication on an Apple computer:
Note: If you do not have an Apple product to set up two-factor authentication, then reach out to the Apple support team and seek their help to set it up on a non-Apple product.
Go to the developer home page and sign in to your Account using your Apple ID. Next, you will arrive at the Apple Developer Agreement that you can read through and agree to.
As you click on the Join the Apple Developer Program you will be redirected to the Apple’s program page where you can click on Enroll and join the program. You can enroll either as an individual or an organization.
If you enroll as an individual, you will only be allowed a single primary login with one account. The developer’s name will be public on the Apple App Store. This should be chosen if the app is solely branded to you.
We highly recommend enrolling as an organization as it will unlock more benefits and features when compared to an individual account. It is most suitable for businesses, companies, and organizations. Enrolling as an organization also enables multiple user logins and the app store displays the business name instead of any individual developer’s name.
However, enrolling as an organization will require a D-U-N-S number. It is a unique combination of nine-digit numbers that is assigned by Dun & Bradstreet and is widely used as a standard business identifier. Apple requires this information to verify your organization’s identity and legal entity status.
If you do not have a D-U-N-S Number, then get one for your organization here. Enrolling for and getting a D-U-N-S Number may take a few weeks to process. Once you have the number, you can enter it and start your enrollment process.
During this process, you will need to confirm your Apple ID information and enter the email, name, and country information.
Next, you will have to select the relevant entity type from the following options:

Next, you can fill out the contact information for your account and proceed.
Once all the information is filled out, go ahead and checkout Apple’s license agreement. After reviewing the Apple Developer Program License Agreement, you can check the box to agree and click on Continue.
Proceed to the payment gateway and pay the registration fee. Next, you will have to wait for a payment approval email from Apple. This may take up to 24 hours as well.
Now you will be prepared to submit the IPA files to be published on the Apple App Store.
The prerequisite of submitting an app stands almost complete by this step. The next part requires you to fill an app listing on your App Store Connect account.
Go to iTunes Connect and proceed to open the My Apps section and navigate to the overview of apps. Here, you can add a new app by clicking on the + symbol and entering the required information.
You will need to enter the following details before listing your app:
When added, you can click on the Create button to complete the first step of creating an app listing.
Once the app listing is created and the test flight has been uploaded navigate to the App Information section on your App Store Connect account. Here you will need to add some essential artwork, creative copies and other significant details. This may include the following:
Suggested Read: How does App Store Optimization differ for Google Play and Apple App Store?
The app information submission process is segmented into the following sections.
Let us go through them one by one:
Here you need to submit the basic information related to the mobile app. This includes:
Next, define the user access so that you can control and limit the app access, and proceed to pricing when done.
In this section, define the pricing and demographic availability of your mobile application by clicking on the Pricing and Availability button on the left menu. Here, you will need to add the following information:
Finally, click on the Save button on the top right and save the settings.
Next, click on the Prepare for Submission button on the left menu. For this, you will need all the essentials that we have listed above.
This is segmented into the following sections.
These steps may branch out to several more steps where you will need to add some more information. For instance, you will have to define the language, add previews and screenshots, promotional text, description, keywords, support URL, marketing URL, etc., for the app as described above.
When done, click on Submit for Review in the top right corner. You will be taken back to the app listing now and the status should have changed to Waiting for Review. The approval process may take two to three weeks (if the app does not get rejected).
That’s it. The submission process of the app should be complete by now. You can go live on the app stores as soon as you get the approval. To submit a new version, you will only need to go through some of the steps listed above in the final section. Celebrate when your app goes live and do not forget to endorse it and attract a huge number of downloads.
Suggested Read: Avoid getting rejected by Apple App Store: Find ways to make a comeback if you do

Need a makeover for your app? Why not build a new one in the budget of a makeover? Subscribe to AppMySite and create a mobile app with AppMySite’s free mobile app builder.
Here, you can build, customize, and preview your app without writing a single line of code. Point and add features as per your website. For instance, you can add blogs, products, optimize categories and more.
Additionally, AppMySite is one of the very few platforms that also enables you to automatically publish the iOS app on the Apple App Store. You can deploy the app to the store with the on-site submission feature and streamline the entire process of app publishing.
Submitting iOS apps on the Apple App Store requires a lot of effort and preparation. If you want to achieve it yourself, you can refer to the detailed guide by AppMySite . We have the end-to-end process covered in our documentation. Else you can also use our “Upload to App Store” service and let our experts take care of it.
So, what are you waiting for? Go ahead and build your own app with AppMySite. Build, customize and preview your app for free and pay only to publish. App your way to success now!